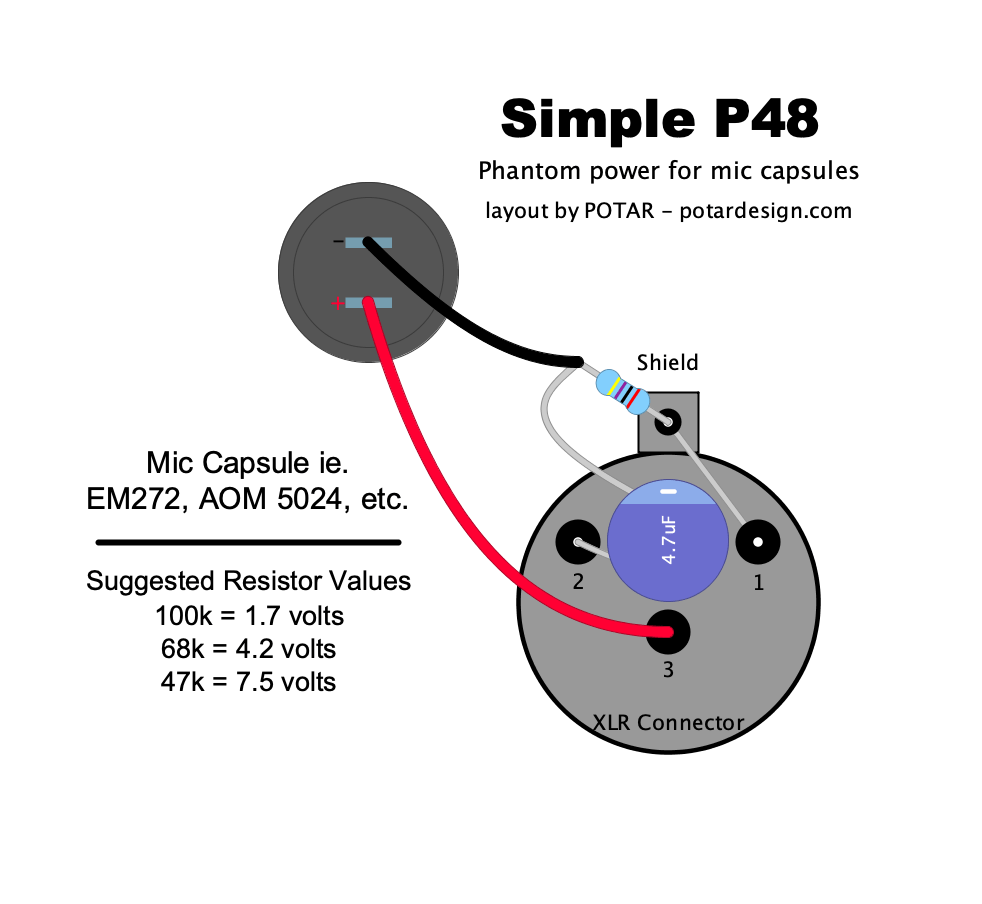
Building a Simple P48 circuit for your electret mic capsule is as simple as it sounds. I put the following diagram together to help beginners better visualize how everything is connected to the XLR.

How to wire up the Simple P48 to an XLR


First, one leg of the resistor is wired through the shield tab to pin 1,
Then, the 4.7uF (25 volt minimum) capacitor is placed upside down in between the solder lugs of the XLR, bend down the leg on the positive side, connecting it to pin 2 on the XLR. You will need to clip the leg to get it to fit nicely.
Now connect the negative leg of your capacitor with the open leg of the resistor; this junction is the ground for your capsule. You can use a short length of wire to connect it to the capsule.
Last, using another short length of wire, connect the positive tab of your capsule to pin 3 of the XLR and you are ready to test your mic.
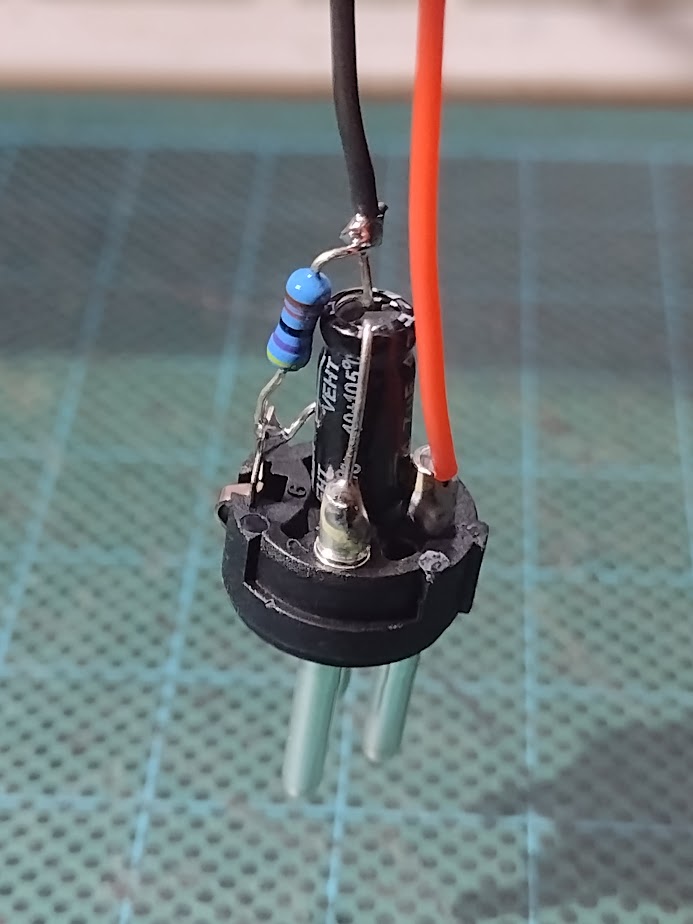
It should look something like the picture on the left. Super simple, right?
What mic capsules will work?
The Simple P48 circuit works with just about any electret mic capsule. It is best to have a look at the capsules data sheet so you know (at the very least) what the minimum and maximum voltages are. They are generally 1.25v – 10v – but really, look for a datasheet. I have used this wiring set up with the Primo Em272, the PUI AOM 5024L-HD, the PUI AUM 4537L-HD, and Panasonic WM-34BZ, as well as various other electrets that I have pulled from vintage cassette recorders and toys. I have even made a vero version of it for use when I have a large mic body to work with.
What about power consumption?
When I first discovered the circuit I was suspicious of the design and the power consumption. I currently use a pair of either PUI AOM 5024L-HD or AUM 4537L-HD mics with my Mix Pre 6 II and I tend to get around 5 hours recording time using an Anker power bank (The PowerCore Slim 10000PD, I always keep a spare charged up in my bag).
The most important factor is that Simple P48 sounds great and works great.
Don’t solder, no problem.
Field Mic Pairs Available for purchase, too.
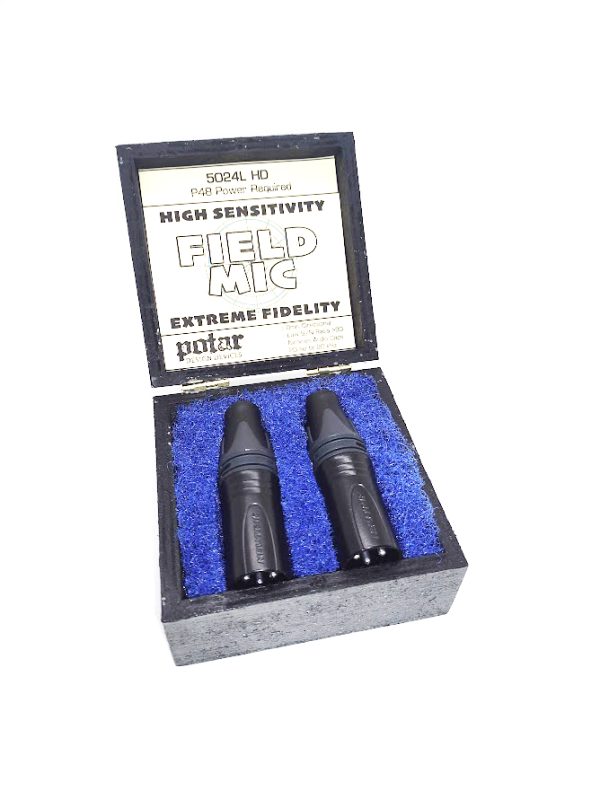
Field Mic – PAIR – 5024L-HD
Features:
• 9.7mm analog electret condenser capsule
• Neutrik Connectors
• Nichicon Audio capacitors
• Metal film resistors
• -24 dB sensitivity
• 80 dB signal-to-noise ratio
• True 20 Hz to 20 kHz performance
• Maximum SPL Input (THD<3%) 110dB
• P48 Phantom Powered
1 in stock
Simple P48 was developed by David McGriffy and written about extensively by Ricardo Lee (PDF link)


